
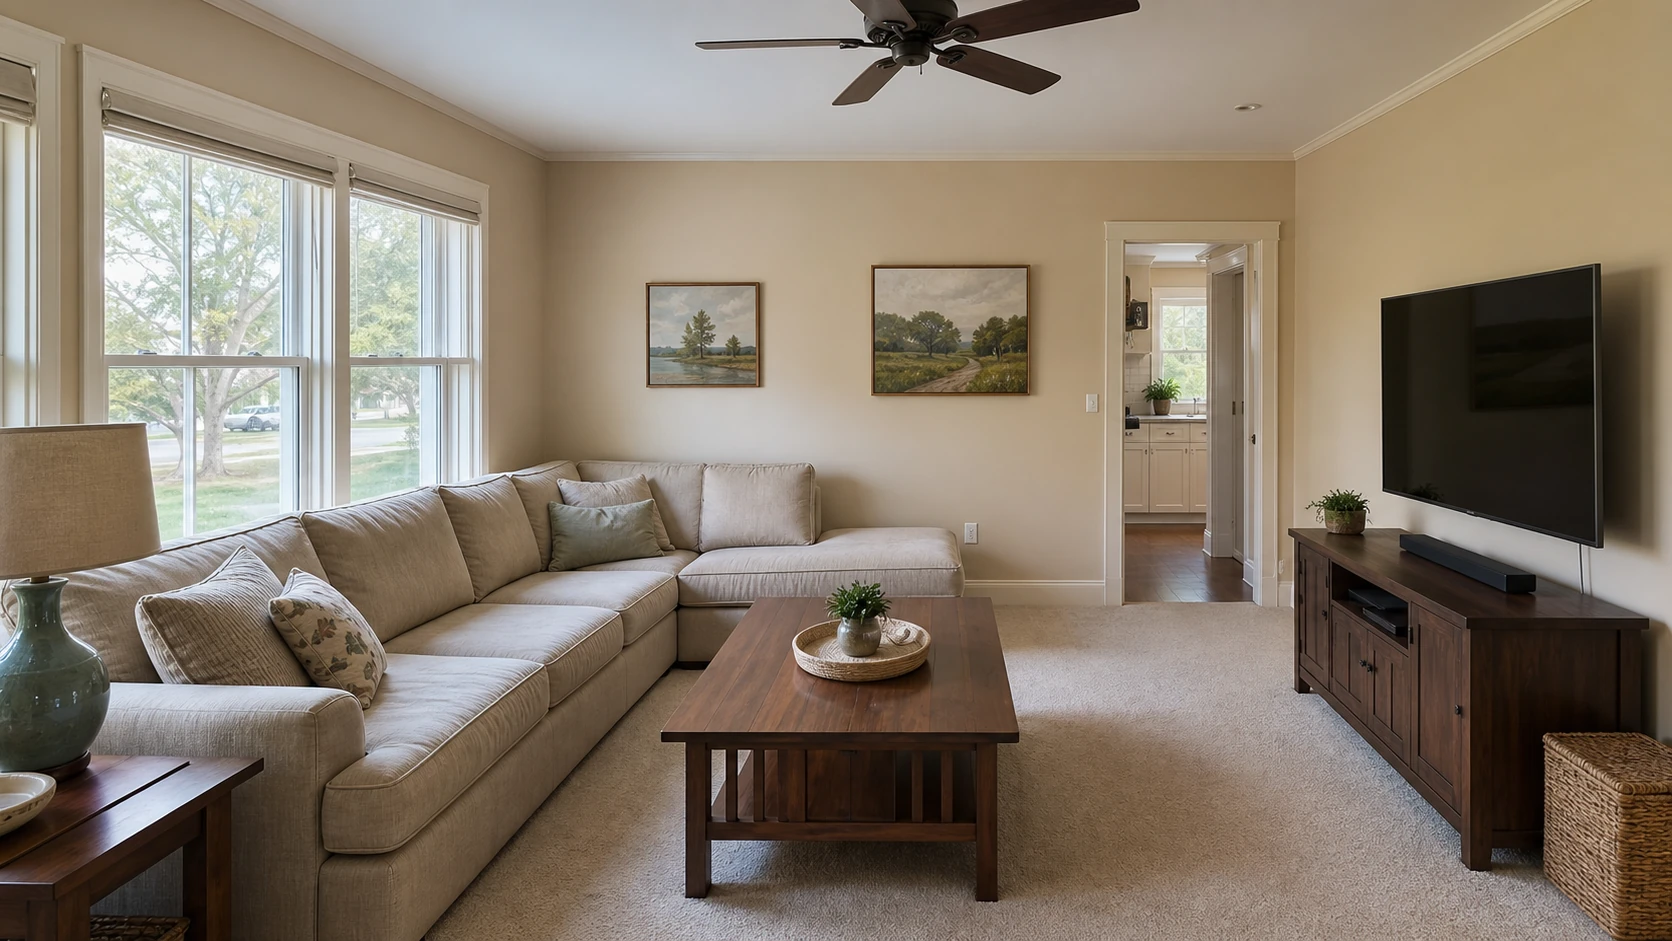
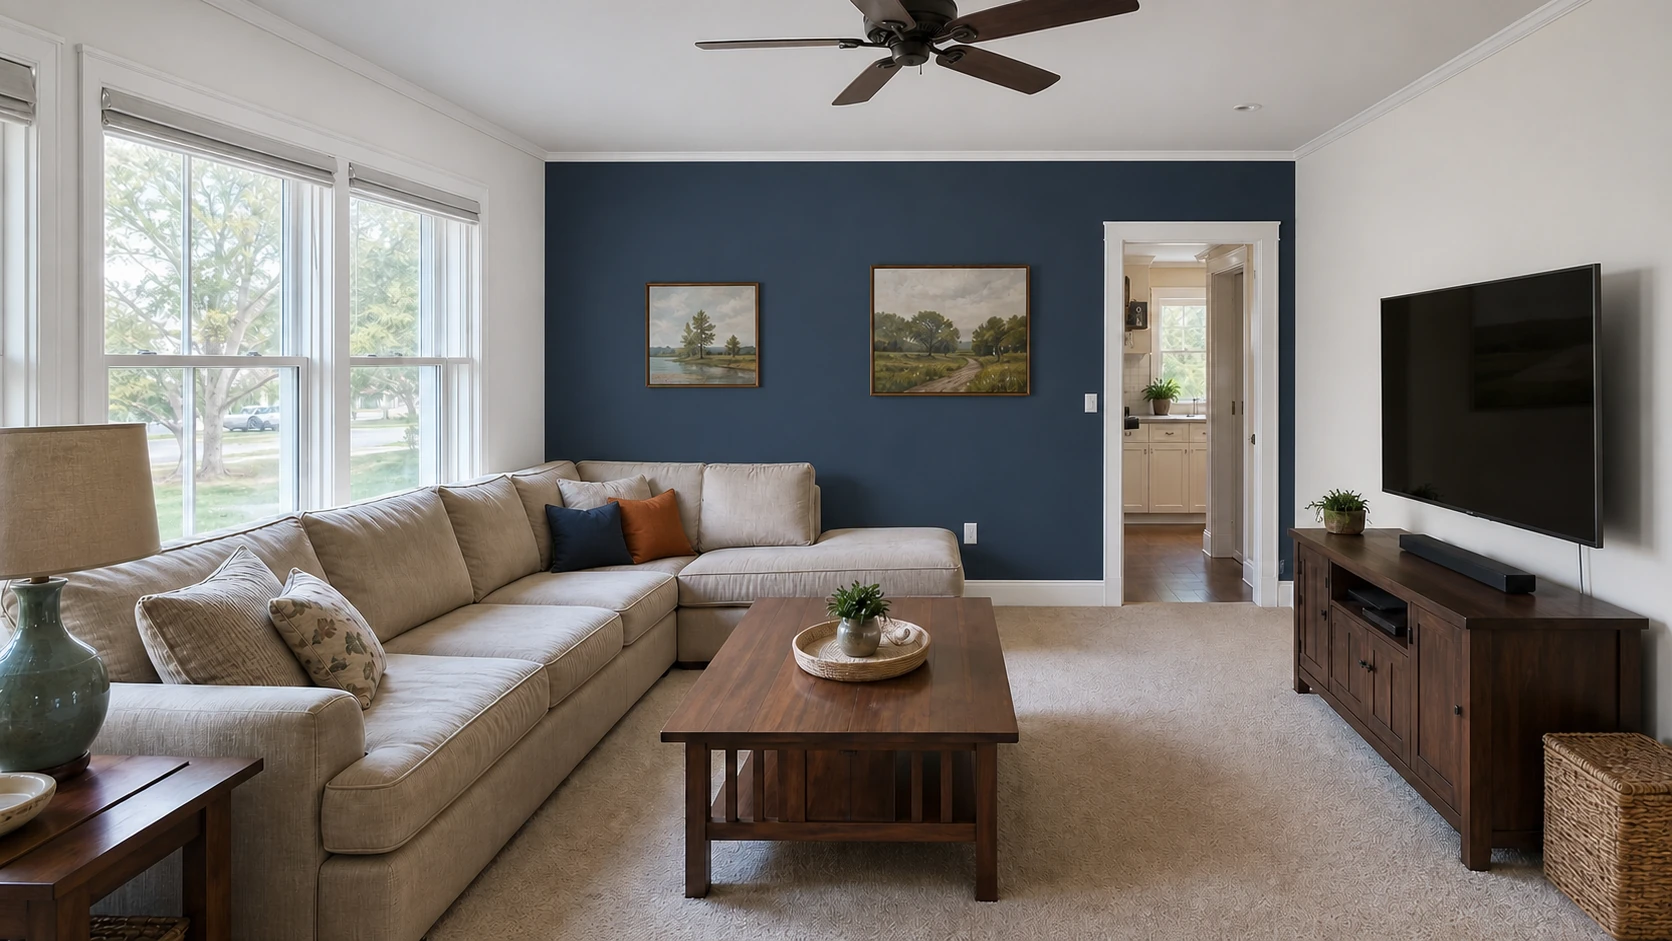
The paint color gets all the attention, but the work that actually determines how long a job holds up happens before a roller ever touches the wall. On every Interior Painting project, our prep routine is the same whether it's one accent wall or a whole house.
The steps we don't skip
Walls get washed to remove dust, grease and cooking residue, especially in kitchens and hallways, since paint won't bond well over a dirty surface. Nail holes, dents and cracked drywall seams are patched and sanded smooth, and any glossy trim gets scuffed so the new coat has something to grip.
Stains from water damage, crayon or smoke get spot-primed with a stain-blocking primer first, otherwise they can bleed through even two coats of finish paint. Furniture, floors and fixtures are covered before anything else happens.
Why this determines how long the paint lasts
Paint applied over dust, grease or an unsealed stain may look fine on day one and then fail within months, either peeling, flashing, or letting the old stain bleed back through. Proper prep is also what keeps cut lines around trim and ceilings crisp instead of ragged.
It's the least exciting part of the job and also the part that protects your investment the longest.
If a wall has ever had a water leak, always ask for a stain-blocking primer coat first, even if the stain looks dry and old. Regular paint alone almost never fully covers it.
Ready to get started?
Good prep takes longer, which is part of why our estimates walk through exactly what a room needs before we quote a price. Request a free estimate and we'll tell you what your space actually requires.